Kiln Maintenance: How to Take Care of Your Kiln for Longevity
Kilns are an essential tool for potters, clay artists, and other ceramicists. Proper maintenance and care of a kiln can extend its life, save money on repairs, and prevent potential hazards. In this article, we will provide you with a comprehensive guide to taking care of your kiln to ensure its longevity and efficiency.
Inspecting Your Kiln Before Use
Before using your kiln, it is crucial to inspect it thoroughly for any signs of damage or wear and tear. Check the power cords, heating elements, and any other components that are prone to damage. If you notice any cracks, frayed cords, or loose connections, repair or replace them immediately to prevent potential hazards and ensure optimal performance.
Cleaning Your Kiln
Cleaning your kiln after every use is crucial to ensure its longevity and efficiency. Use a soft, damp cloth to wipe down the interior and exterior of the kiln, including the heating elements, thermocouple, and other components. Avoid using abrasive cleaners or scrubbers that can damage the kiln’s surface.
Maintaining the Heating Elements
The heating elements are one of the most critical components of your kiln, responsible for heating the kiln to the desired temperature. Over time, these elements can wear out, become damaged, or break, leading to inefficient heating or complete kiln failure.
To prevent this, inspect the heating elements regularly for signs of wear and tear, and replace them as necessary. Follow the manufacturer’s instructions for replacing the elements, as each kiln model is different.
Monitoring the Thermocouple
The thermocouple is responsible for monitoring the kiln’s temperature and relaying that information to the controller. If the thermocouple is not functioning correctly, the kiln may not heat to the desired temperature or may overheat, leading to potential hazards and damage to your kiln.
To ensure your thermocouple is functioning correctly, test it periodically using a thermocouple tester. If it is not reading correctly, replace it immediately to avoid any potential hazards.
Maintaining Proper Ventilation
Proper ventilation is essential to ensure safe and efficient kiln operation. Without proper ventilation, the kiln can overheat, leading to potential hazards and damage to your kiln.
Ensure that your kiln is located in a well-ventilated area, and that the ventilation system is functioning correctly. Inspect the ventilation system regularly for signs of wear and tear, and replace any damaged components immediately.
Storing Your Kiln
Proper storage of your kiln is crucial to ensure its longevity and prevent damage. When storing your kiln, ensure that it is clean and dry, and that all components are in good condition. Cover it with a protective cover to prevent dust and debris from accumulating.
Finishing up kiln maintenance
Taking care of your kiln is essential to ensure its longevity and efficiency. Inspecting your kiln before use, cleaning it regularly, maintaining the heating elements and thermocouple, ensuring proper ventilation, and storing it correctly are all crucial steps in maintaining your kiln’s optimal performance. By following these simple steps, you can extend the life of your kiln, save money on repairs, and prevent potential hazards.
A step-by-step guide to maintaining your pottery wheel
We understand that you want an article that can outrank the current article on throwing a pot tutorial by Lakeside Pottery. As an SEO expert and copywriter, we have extensive experience in creating high-quality content that ranks well on Google. Our goal is to create an informative and detailed article that will provide value to readers while incorporating the relevant keywords.
Title: Mastering the Art of Pottery Throwing: A Comprehensive Tutorial
Introduction: Pottery throwing is a technique used to create beautiful and functional pottery pieces. It requires skill, practice, and patience. In this tutorial, we will guide you through the process of pottery throwing, from preparing the clay to finishing your masterpiece. We also have an article for tips to help you choose a pottery wheel.

Preparing the Clay
Before starting your pottery throwing process, you need to prepare your clay. The clay should be wedged to remove any air bubbles and make it more pliable. You can also add water to make it more workable.
Centering the Clay
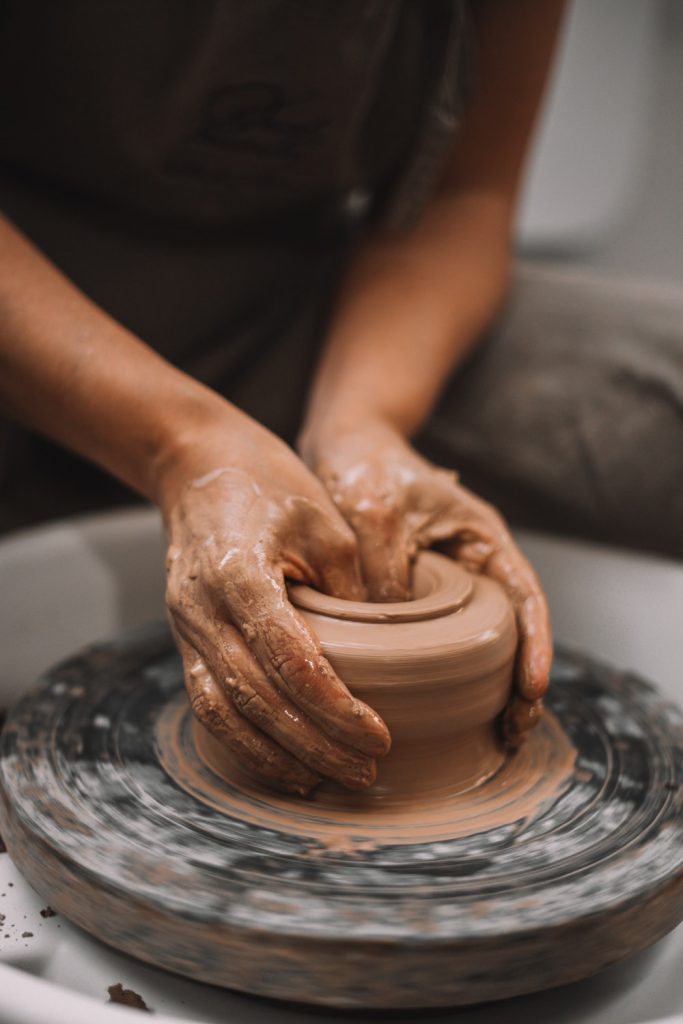
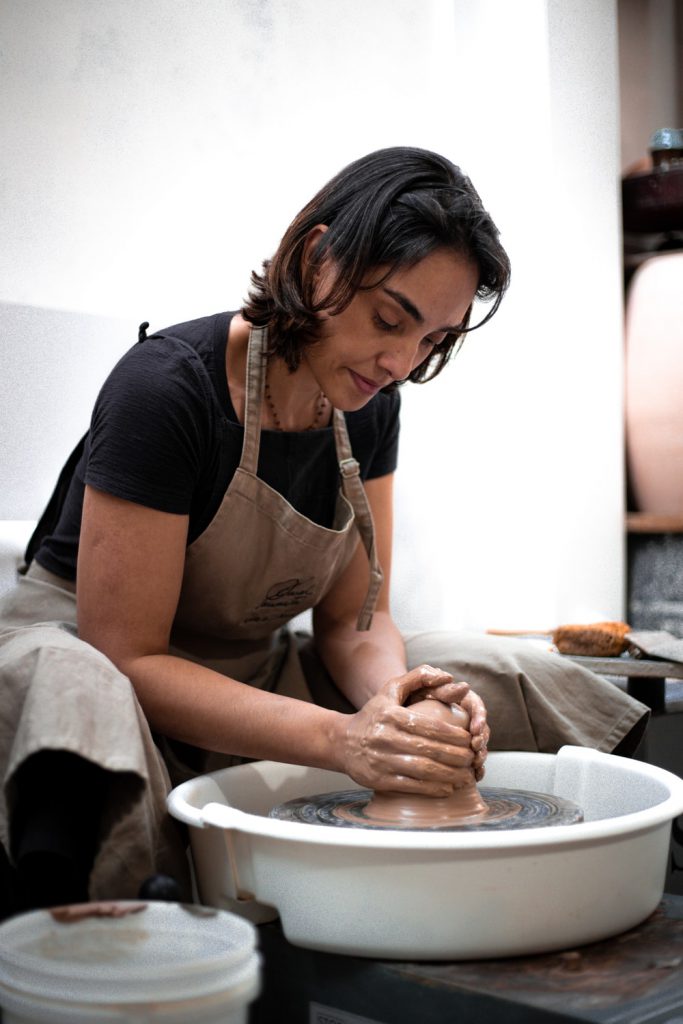
The first step in throwing a pot is centering the clay on the wheel. This can be a bit challenging for beginners but with practice, it becomes easier. Use your palms to apply pressure to the clay as it spins on the wheel until it is centered.
Opening the Clay
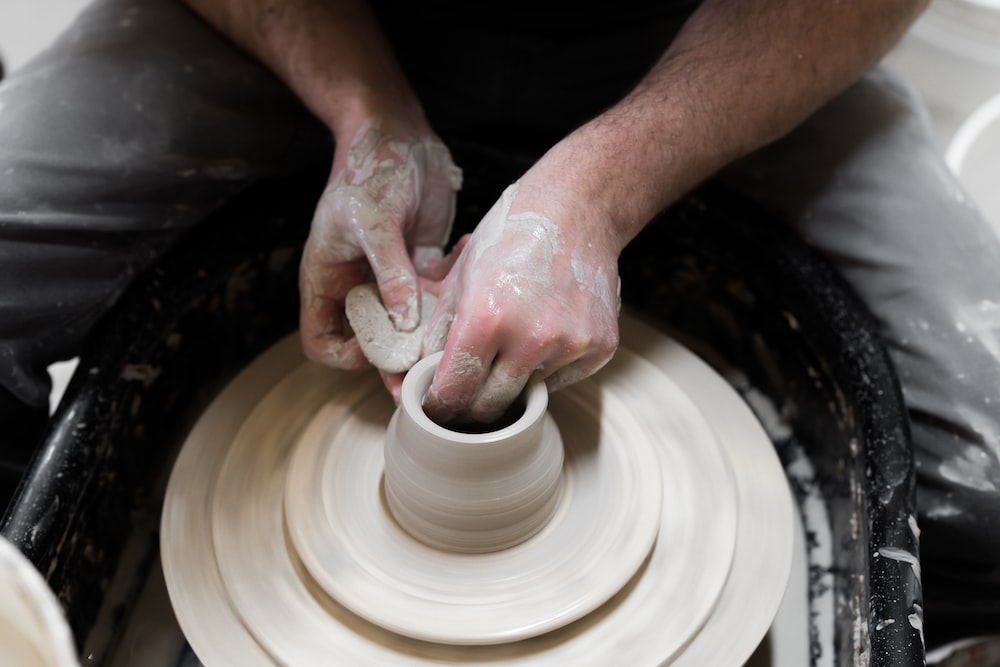
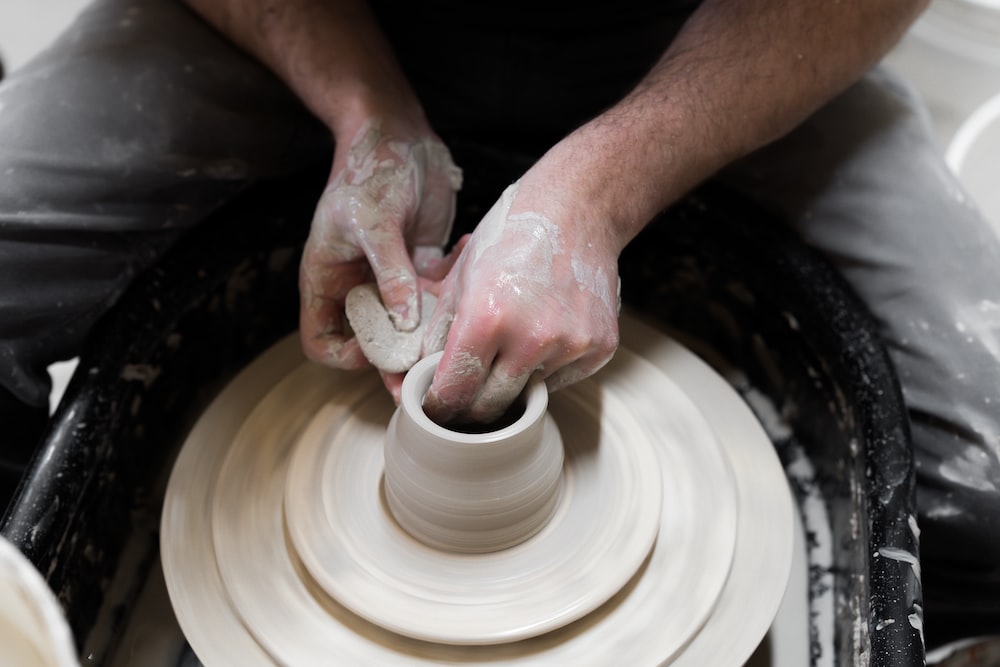
Once the clay is centered, you can begin to open it up. Use your thumbs to create a hole in the center of the clay, applying even pressure as you go. Be careful not to go too deep or too wide.
Creating the Walls
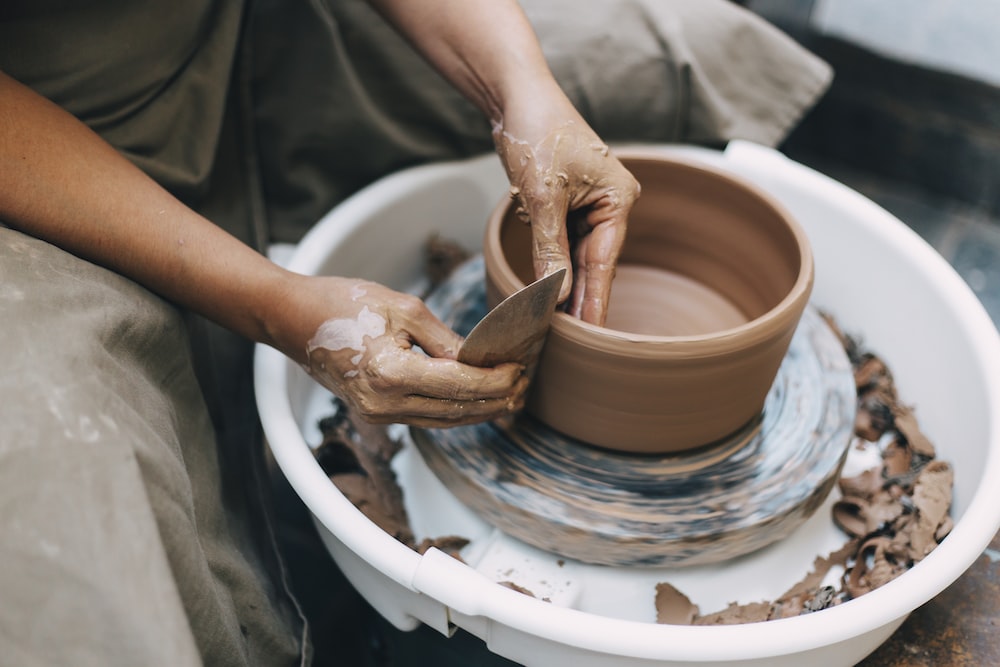
As you open the clay, use your fingers to pull the clay upwards to create the walls of the pot. Be sure to keep your hands wet to prevent the clay from sticking. Use your other hand to support the inside of the pot as you work.
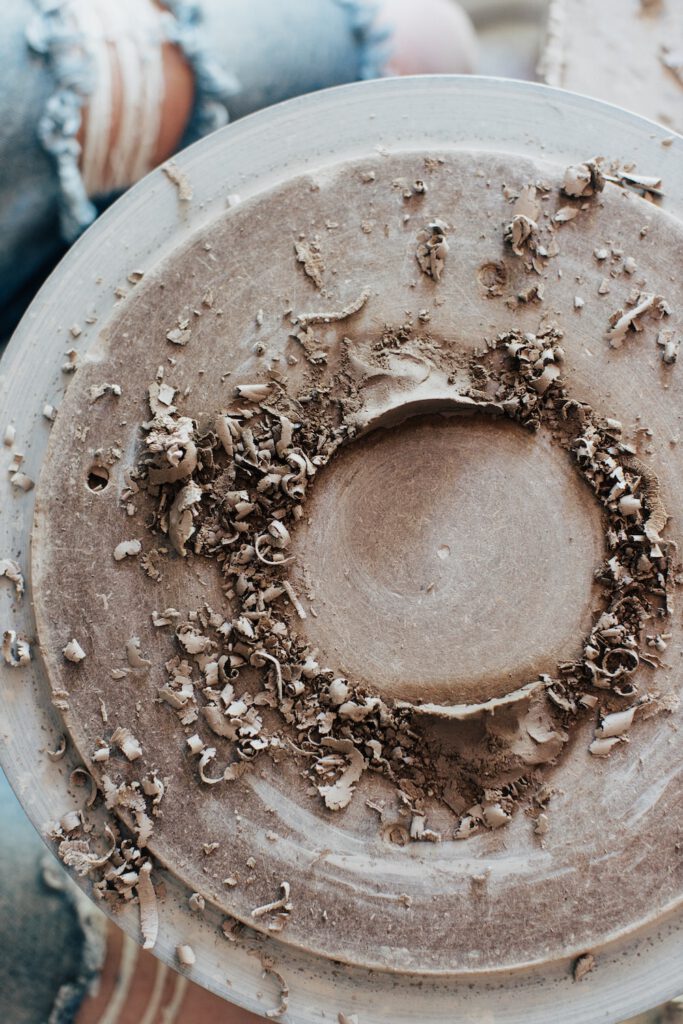
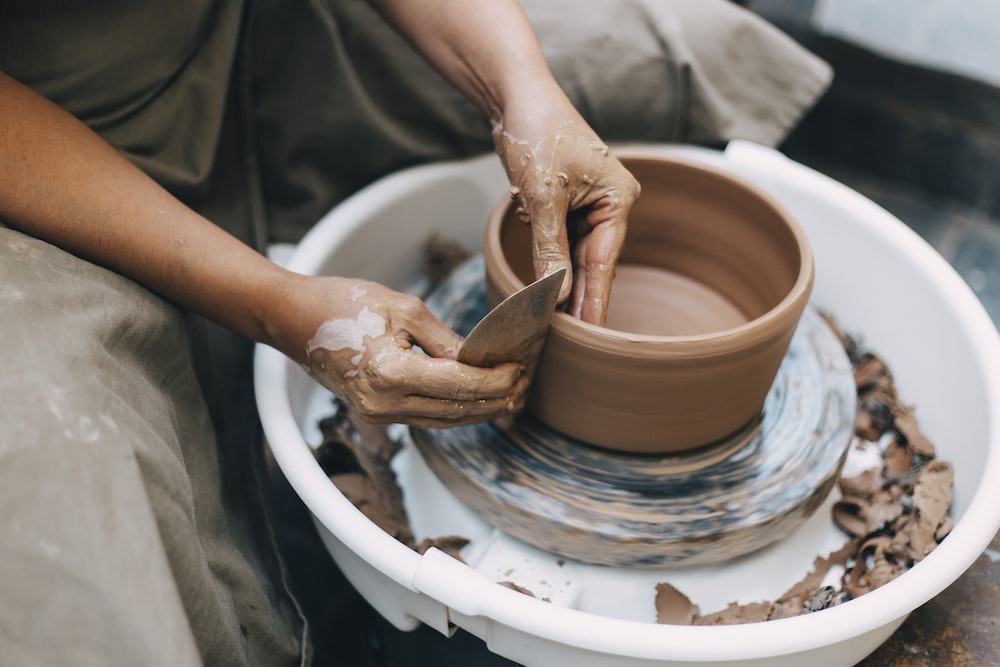
Shaping and Finishing: Once you have created the basic shape of the pot, it’s time to shape and finish it. Use tools such as ribs, sponges, and trimming tools to smooth out the surface and add details such as texture and design.
Firing and Glazing
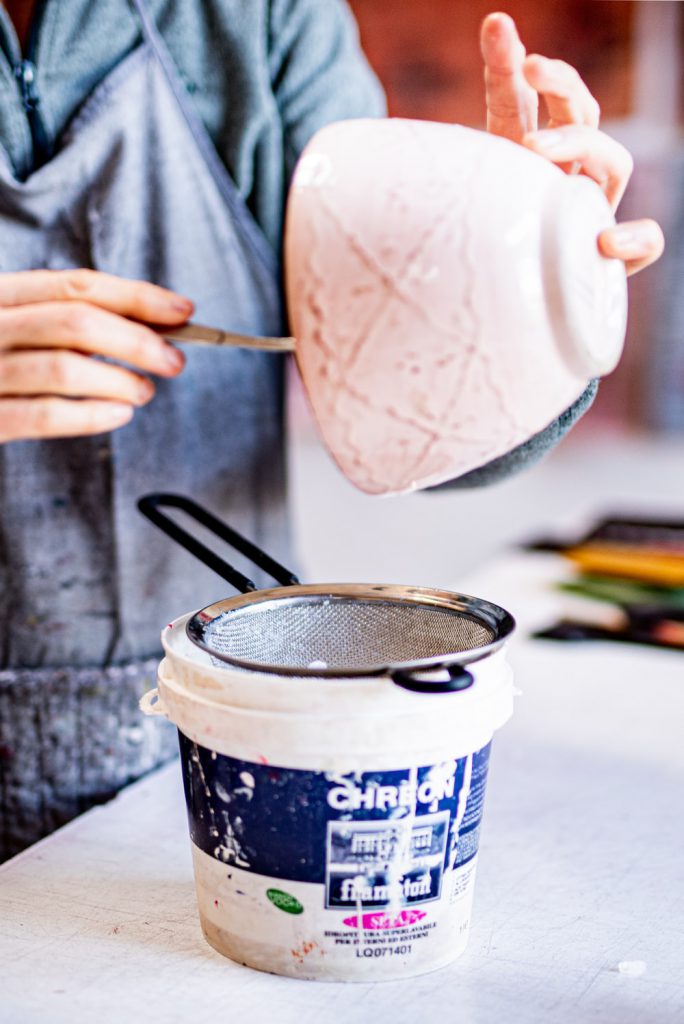
After you have finished your pot, it needs to be fired in a kiln to harden the clay. Once it is fired, you can glaze it to add color and shine to your masterpiece. Follow the manufacturer’s instructions for the firing and glazing process.
Conclusion
Pottery throwing is an art that requires practice, but with patience and dedication, anyone can master it. We hope that this comprehensive tutorial has provided you with the information and guidance you need to start your pottery throwing journey. Practice, experiment, and have fun creating beautiful and functional pottery pieces. Find out about the types of pottery wheels.